The Side Channel
 115
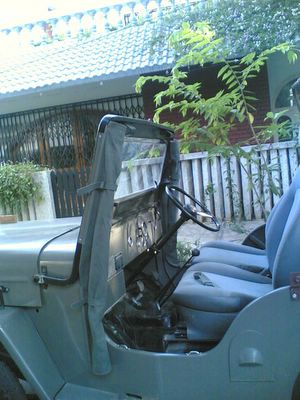
115  The side canvas channel sits partly on the body and partly on the windshield.
The side canvas
 114
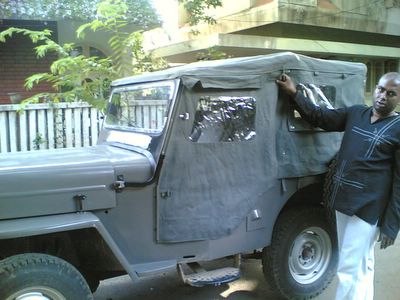
114  The side canvas is being held. Need to put knobs to hold the same onto the main canvas. Yes, the guy who looks like Vinod Kambli is my mechanic :-).
Side View - with Canvas on
 113
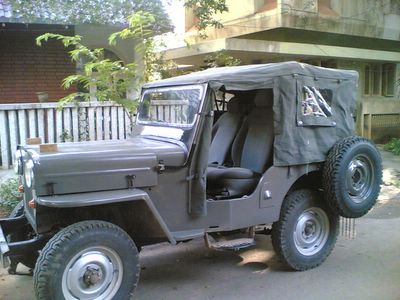
113  Notice the canvas, a bit protruding in the middle. It is 2 -3 inches more elevated than required. Need to increase the length of the canvas strip which will widen the frame and thus it will sit lower. The extra length has been wound up to the channel and has been put in the front of the windshield
Canvas - Slightly Big
 112
112  The canvas needs to be altered a bit, to fit the frame. Lengthwise, it is about 5 inches bigger.
Scissor Frame Installation - Bracket View
 111
111  Before I could give the scissor frame bracket position measurement, my mech just went and installed it. It is close to the actual measurements, but not correct. He has to do it all over again. Guess drilling holes is a easy job. :-)
Side View
 110
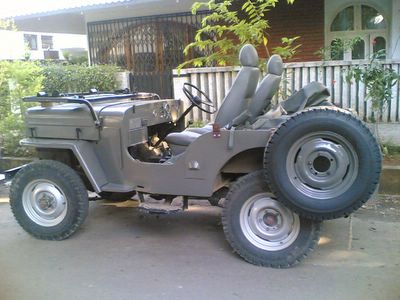
110  Notice the self-styled :-) roll-bars have been removed. The scissor frame has been put. The spare tyre rim got painted. Just wanted to check one rim with the body colour before I changed the colour on all the rims.
A Military Looking Rear ?
 109
109  Full view of the rear. Does it look like the rear of a Military Jeep ????
Bumprette / Tail Lamp Left Side
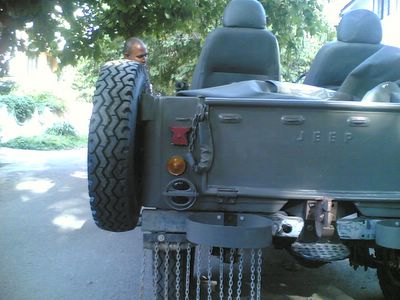 108
108  The bumperettes have been fitted and have been painted with the body colour. Notice the tail lamp outer bracket has been painted with the body colour on this side. This is also to check the colour scheme. The spare tyre looks menacing....
Bumprettes / Tail Lamps Fitted
 107
107  The bumperettes have been fitted and have been painted with the body colour. Notice the tail lamp outer bracket has been painted black on this side. This is just to check the colour scheme.
New Rims and Tyres
 106
106  Thats how the new rims look.
New Rims and Tyres
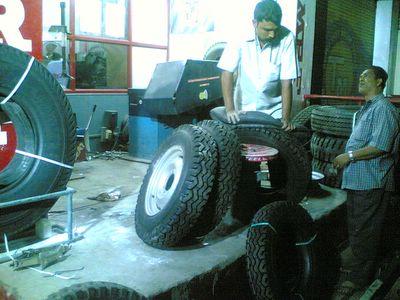 105
105  The new rims being fitted with MRF Rover 6.00 16" tyres. The tyre is so cool.
Old Rims and Tyres
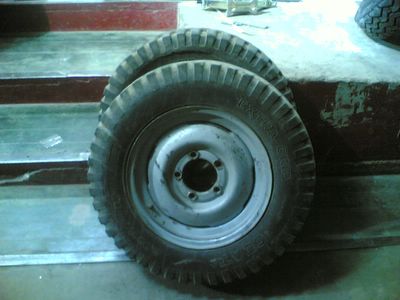 104
104  Stock Rims which came with the Jeep being removed. I have retained these rims, but disposed the tyres off
JEEP - Odometer
 103
103  My Mech found this JEEP odometer, so he just picked it up. The one on the Jeep has been stuck at 95000 odd kilometers.
JEEP - Fuel Meter
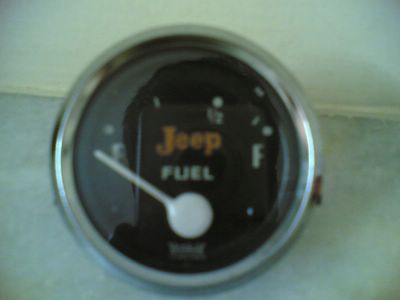 102
102  My current fuel meter works, but trouble it is when it is switched off, the needle hovers at 1 . So decided to replace it and my mechanic sourced this one. It was madein 1976.
Straps
 101
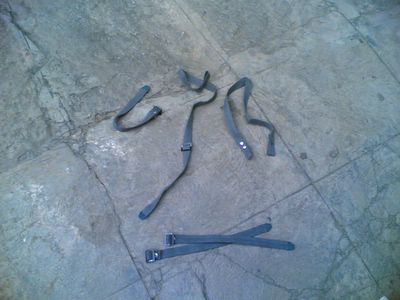
101  Various straps to hold the canvas and everything else in between in place
Tool Bag
 100
100  Looks like a tool bag. Neat.
Doors too !!!
 99
99  Even doors have been fabricated complete with a window !!!
Canvas Top
 98
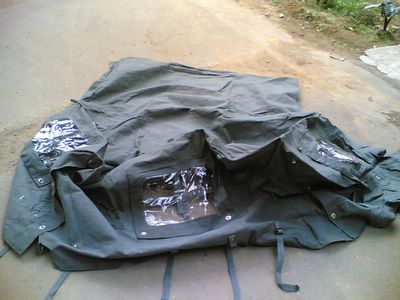
98  The canvas also fabricated by Mr. Uday Bhan Singh. The top of the frame is a single piece. This also did the Calcutta - Chennai - Yelagiri - Bangalore trip.
Scissor Frames
 97
97  Part of the scissor frame assembly. Mr. Uday Bhan Singh has fabricated the same for me. He took the trouble of carrying it to Chennai from Calcutta. From Chennai it was taken to Yelagiri where the 1st Jeepers meet took place. Unfortunately I could nto make it and the scissor frame unit was bought to Bangalore from Yelagiri by Mr. Mannoj.

 Notice the canvas, a bit protruding in the middle. It is 2 -3 inches more elevated than required. Need to increase the length of the canvas strip which will widen the frame and thus it will sit lower. The extra length has been wound up to the channel and has been put in the front of the windshield

 Part of the scissor frame assembly. Mr. Uday Bhan Singh has fabricated the same for me. He took the trouble of carrying it to Chennai from Calcutta. From Chennai it was taken to Yelagiri where the 1st Jeepers meet took place. Unfortunately I could nto make it and the scissor frame unit was bought to Bangalore from Yelagiri by Mr. Mannoj.


